
Introduction: The Future of AI-Powered Research and Note-Taking
In an era where information overload is a daily challenge, Google has introduced NotebookLM, an AI-powered research and note-taking assistant designed to transform how we interact with knowledge. Unlike traditional note-taking apps, NotebookLM is an AI-first application that allows users to upload sources, generate insights, and ask AI-driven questions, making research and content organization more efficient.
Launched as an experimental tool, NotebookLM is built on Google’s advanced AI models, including Gemini (formerly Bard), and offers a seamless way to summarize, synthesize, and analyze information from multiple sources. Whether you’re a student, researcher, educator, or content creator, NotebookLM can enhance your productivity by providing AI-generated summaries, structured notes, and even AI-powered audio overviews. This step-by-step tutorial help you to explore the potential benefits of NotebookLM to revolutionize your note-taking experience.
Step-by-Step Guide to Using Google’s NotebookLM
Step 1: Accessing NotebookLM
Before you begin, you need access to Google’s NotebookLM. Follow these steps:
- Go to NotebookLM: Visit https://notebooklm.google
- Sign in with your Google account. Currently, NotebookLM is available for users in select regions, so ensure it’s accessible in your country.
Step 2. Creating a New Notebook
Once logged in:
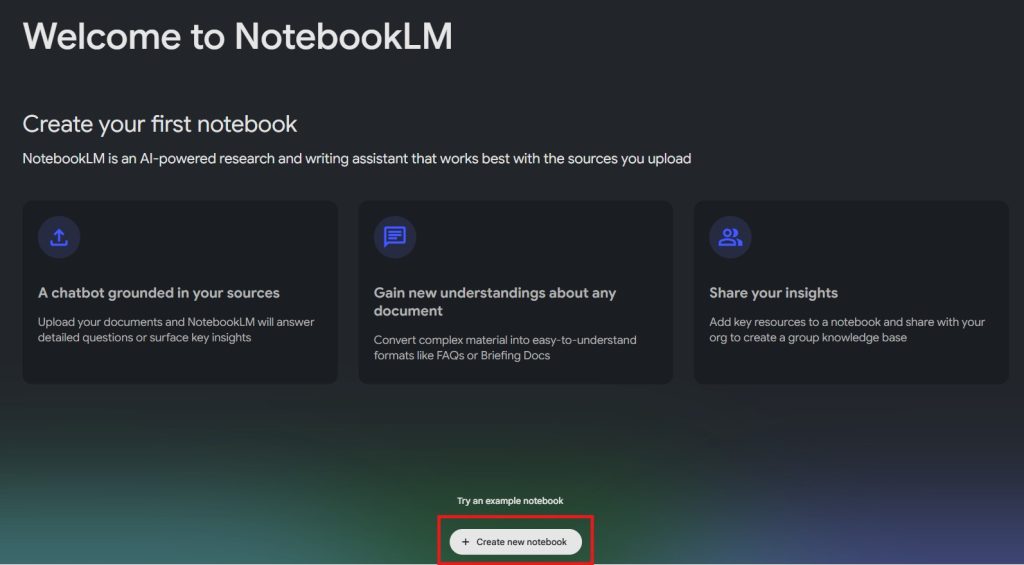
- Click on “Create New Notebook” in the main interface.
- Give your notebook a title that reflects your research topic or purpose.
- Set a brief description to help you organize your notebooks effectively.
Step 3: Adding Sources to Your Notebook
NotebookLM allows you to upload various source materials to serve as references for AI-driven note-taking and summarization.
Supported File Formats
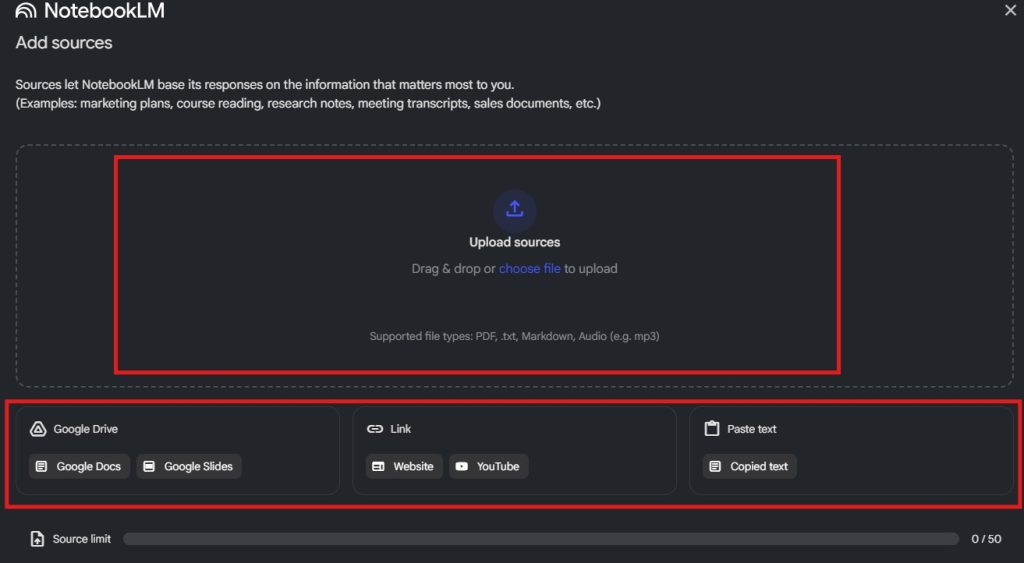
You can upload:
✔️ Google Docs
✔️ Google Slides
✔️ PDFs
✔️ Text files
✔️ Website URLs
✔️ YouTube video transcripts
✔️ Audio files (with accessible transcripts)
📌 Tip: You can add up to 50 sources, with a combined word count of up to 500,000 words.
How to Add Sources
- Click “+ Add Source” in the left-hand panel.
- Select the file from your Google Drive, Computer, local storage, or paste a URL.
- Wait for NotebookLM to process and analyze the uploaded documents.
Step 4: Interacting with Your Sources
Once your sources are uploaded, NotebookLM provides AI-powered summaries and insights. Here’s how to interact with them:
A. Using the “Notebook Guide” Feature
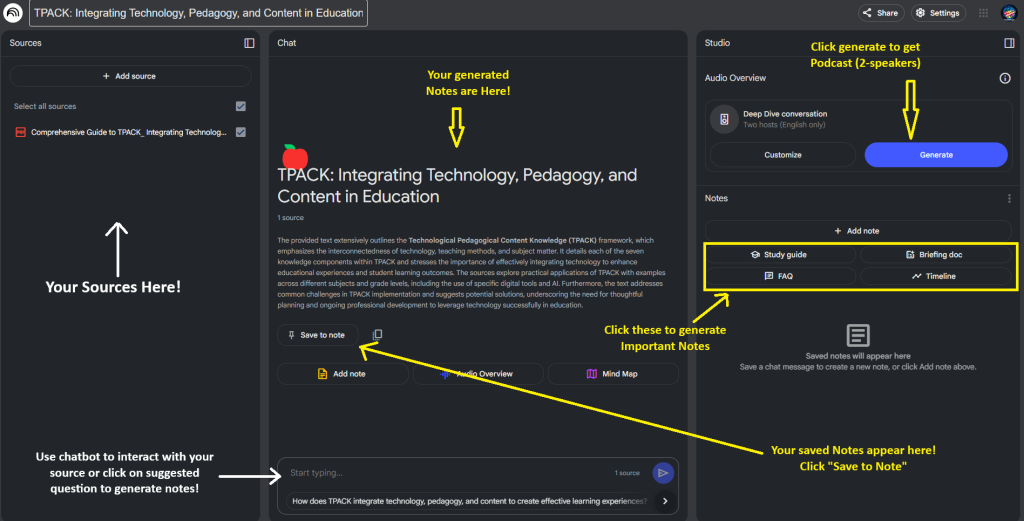
- Click on Notebook Guide to access:
- AI-generated summaries of each source.
- Suggested questions related to your material.
- Structured outputs like timelines, FAQs, and briefing documents.
B. Asking AI-Powered Questions
- You can ask questions directly in the NotebookLM chat box.
- Example: If you upload a research paper, ask:
- “What are the key findings of this study?”
- “Summarize this article in bullet points.”
- “Compare the arguments from different sources.”
✔️ NotebookLM will respond with AI-generated summaries, complete with inline citations.
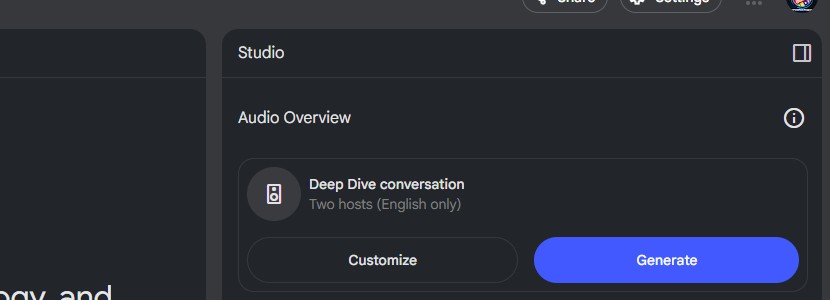
Step 5: Generating AI-Powered Audio Overviews
One of the standout features of NotebookLM is Audio Overviews, which converts your text sources into an AI-generated podcast-style discussion.
How to Use Audio Overviews
- Select a document or set of notes you want an audio summary for.
- Click “Create Audio Overview.”
- Choose a tone/style (formal, conversational, etc.).
- AI-generated hosts will discuss the content as if explaining it conversationally.
📌 Tip: This feature is useful for auditory learners, podcasters, or content creators who want summarized audio content.
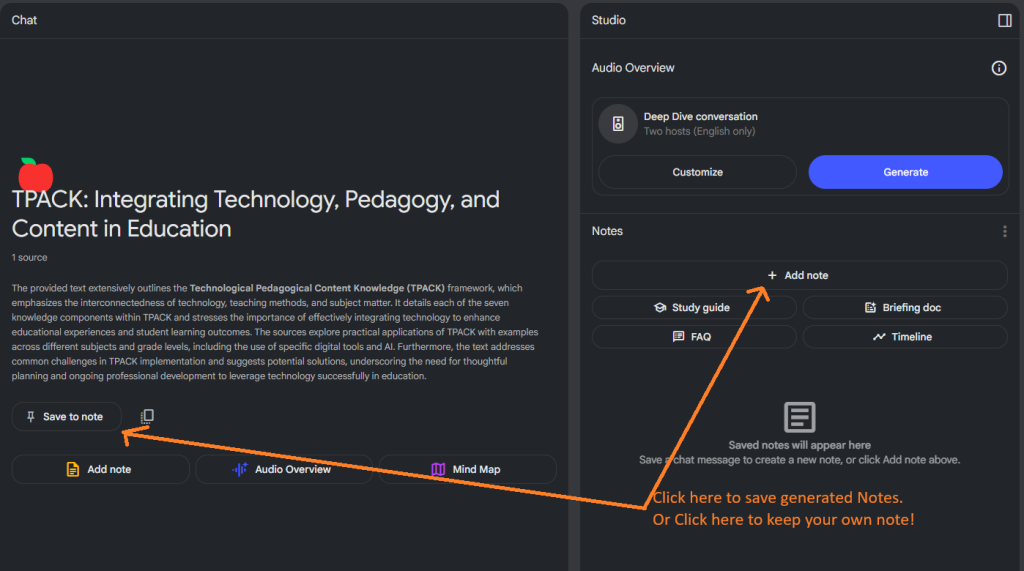
Step 6: Taking and Managing Notes
NotebookLM provides two ways to take notes:
- Saving AI-generated responses: If you receive a useful AI-generated summary, you can save it as a note for future reference.
- Manual Notes: Add your own notes to supplement AI-generated insights.
Organizing Your Notes
- Use headings, bullet points, and tags to structure your notes.
- Move notes between notebooks if needed.
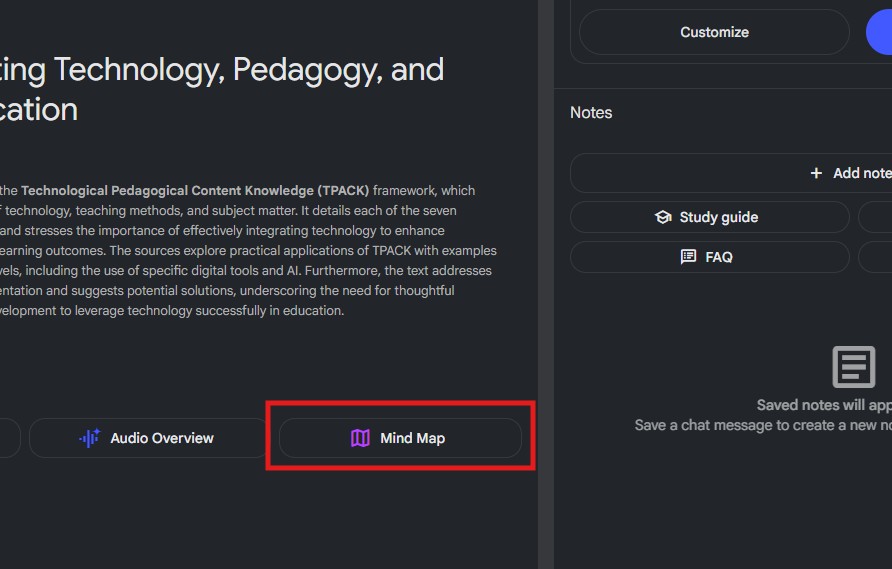
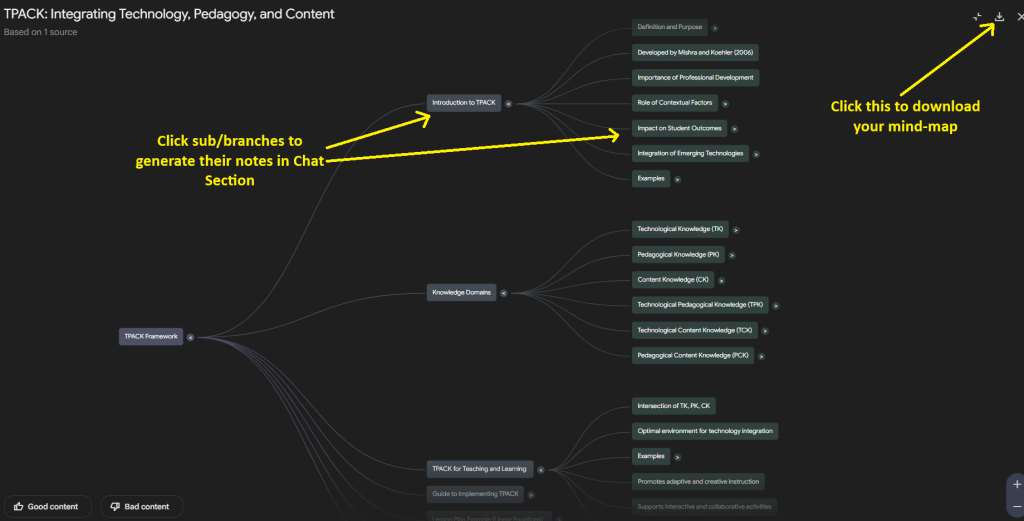
Step 7: Generating Mind-Maps
Use NotebookLM to create creative mindmaps:
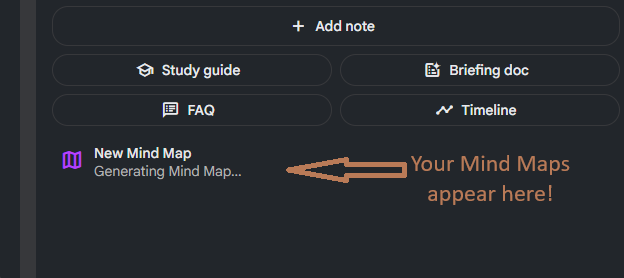
- Click Mind Map from the Chat Section
- Click your Generated Mind Map from the Studio Section (Saved Notes) to explore
- Click > icon to expand branches and sub-branches of your mind map
- Click the branches and sub-branches to generate notes and explore more in the Chat Section
- Download your Mind-map by clicking the save button
Step 8: Collaborating with Others
NotebookLM supports collaboration, allowing users to share and edit notebooks with others.
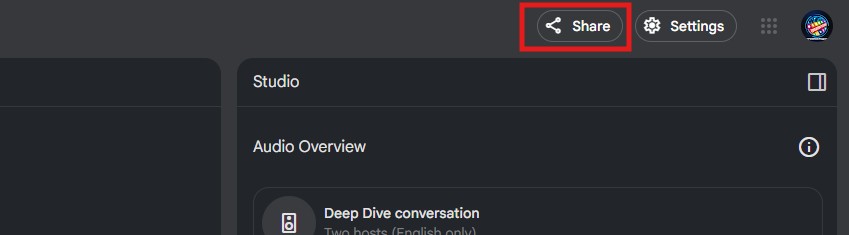
How to Share Your Notebook
- Click on “Share” at the top right corner.
- Enter the email addresses of collaborators or generate a shareable link.
- Assign permissions (View, Comment, Edit).
📌 Tip: This feature is useful for team projects, group research, and co-authored content.
Step 9: Keeping Your Notebook Up to Date
NotebookLM provides real-time updates for sources that change over time.
How to Sync Changes
- If an uploaded Google Doc or Slide is updated, NotebookLM will notify you.
- Click “Refresh Source” to incorporate the latest changes.
Step 10: Exploring Creative Uses of NotebookLM
Beyond research and note-taking, NotebookLM can be used for:
- Academic writing & thesis research
- Content creation & blogging
- Book writing & novel plotting
- Lesson planning for teachers
- Project management & brainstorming
Why Use NotebookLM?
Google’s NotebookLM is a game-changer for researchers, students, educators, and content creators who need an AI-powered assistant to summarize, synthesize, and organize knowledge effectively.
- Saves time on reading and summarization
- Provides structured, AI-generated notes and insights
- Enhances research efficiency
- Offers collaborative features for teamwork
- Includes an audio overview for enhanced comprehension
As the develop of AI continues to revolutionize the way we interact with information, NotebookLM offers a glimpse into the future of intelligent research and digital note-taking.

